There are many ways to keep your vehicle healthy, out of which one of the best and simple ways is to perform a routine heater core flush.
It helps to keep the vehicle running smoothly and properly.
Since it is one of the most important parts of the coolant system of the vehicle, it becomes very essential that it is kept in its best condition.
When the hot coolant is passed to the other engine parts and runs through the heater core, the forced air is passed into the vehicle cabin to heat it.
If the heater core is clogged, the coolant will be prevented from passing through it, limiting the heat amount. This is where the flushing of the heater core takes place so that the vehicle is back to its pre-operational period.
However, if your vehicle is giving you troubles lately or it has stopped working completely, then it can be because of a clog in the heater core.

Heater Core Flush 2025
Table of Contents
Flushing a heater core is an easy job that you can simply do yourself. All you will need are a few things and then you can start with the heater core flushing job.
The things you will require are,
- Clear tubing
- Large bucket
- Pliers
- A garden hose
- Gloves
- A screwdriver
- Rags
- An air compressor – It is not very important, however, it will be very helpful in removing or loosening any gunk before the flushing process.
- Safety glasses
- A 3/4” barb fitting adapter
- Irontite products – If you are using this product for coating, flushing, and sealing, make sure to read the directions thoroughly.
Step by Step Heater Flushing Process 2025
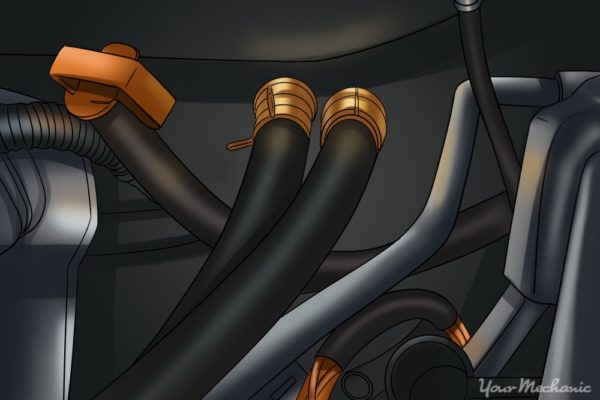
1. Find the Heater Core
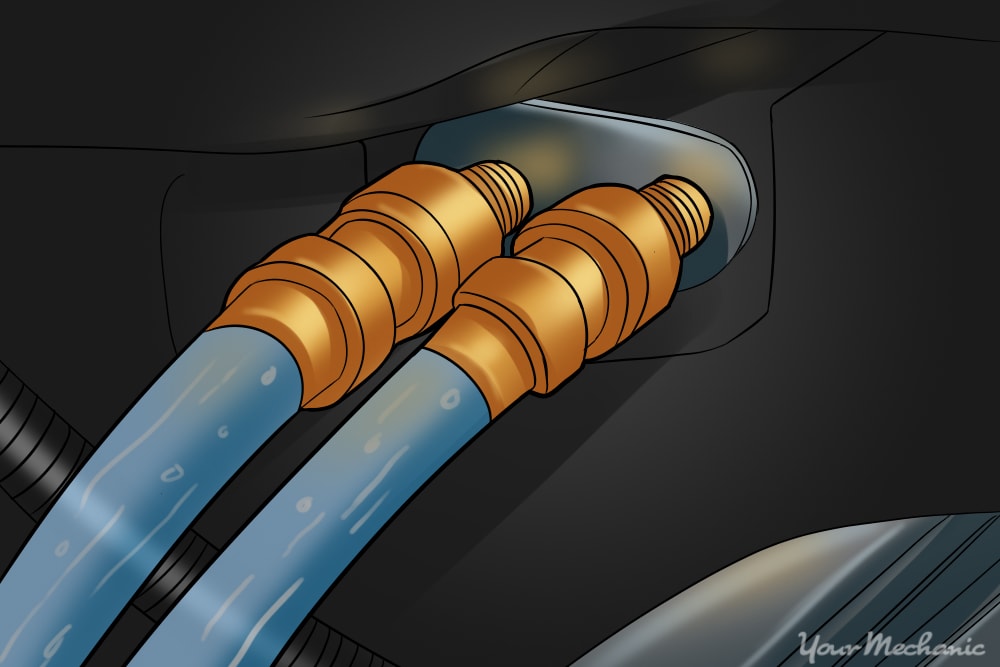
The first step is to locate the heater core, which you will usually find in the firewall of the car.
There will be an inlet and outlet hose of the heater core, in which one will take the coolant, while the other will push it back out.

Since its location varies from vehicle to vehicle, you may find it a little difficult to locate the hoses.
Check the manual of your vehicle to find its exact location. The nozzles can be located by tracing the coolant hoses to the coolant system.
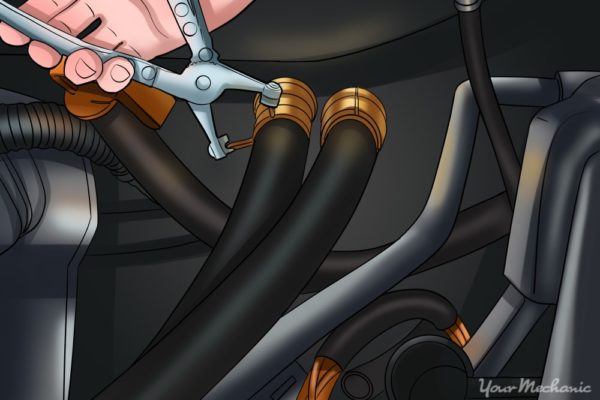
2. Disconnecting Heater Hoses
Most of the coolant hoses are fixed using the hose clamps.
You will need a wrench, pliers, or a screwdriver to loosen it.
Make sure to place a container beneath the car because while disconnecting the hoses, the coolant and the water will leak out.

Be very careful during this process and ensure no coolant spills on the ground as it is very hazardous for the environment.
If during the loosening process, you damage the hose clamp, then stress not. You can always replace it with a new one which is readily available in the auto parts store near you.
3. Point the Inlet Hose Towards the Container
The blockage of the heater core can be cleaned by forcing either water or air into the system.
The outlet hose must be hooked up and sealed tightly with duct tape.
This will ensure pressure build-up. While doing so, the water, coolant, and grime that are spaced in the system will be removed through the inlet hose.
Make sure the container is in its right position so that whatever comes out of the inlet hose is directly poured into it.
Also, take note that the bucket does not overflow, for this is the reason to use a large sized-bucket for the safer side.
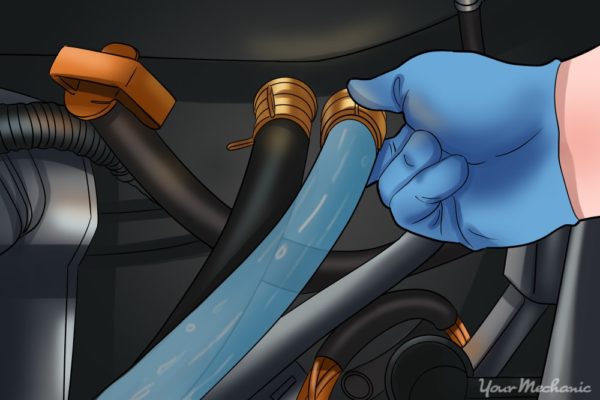
4. Insert a water hose into the Outlet Hose
An air compressor can do the tricks by pushing out the remaining grime and coolant in the heater core.
But if you do not have an air compressor, you can get the job done by using a water hose or a garden hose.

Apply the same sealing method to the water hose as well. Turn the hose on and let the flushing process begin.
Once you see clear water running, then know that you are done with the flushing.
However, you will have to repeat the process at least three two, or three times to make sure clean and successful heater core flushing.
A water hose is better for cleaning as it will ensure deep cleaning. While in the case of an air compressor, it will be difficult to remove blockages.
5. Seal the Line
The line where the airline or hose is connected must be tightly sealed.
You can either use silicone couplers or duct tape, as both are equally effective to seal.

If there is a serious line blockage, the pressure may leak back rather than remove the clog.
This is why it is focused to seal it properly and tightly so that the buildup pressure removes the clog easily.
6. Flush the System with Quality Chemical Flush
When you have reached this step successfully, then you can very well take one step forward and do a full flush of the entire cooling system by using a quality chemical flush.
Irontite products Thoro-flush is considered to be one of the best and powerful flush, easily available in the market.
If this is not available, then get help from the car mechanics or auto dealer parts and buy a good quality chemical flush.
7. Refill the Coolant
Once you are done with the flushing job, it is now time to refill the coolant.
To do this, remove the radiator cap and pour the coolant mixture. It must be in the right ratio of 50/50 distilled water and coolant.
Make sure to use the right coolant type for your vehicle. After the system has been filled to its capacity, screw back the radiator cap.
You can either mix the coolant and water yourself or buy the pre-mixed coolant. If you are not sure about the right coolant for your vehicle, then get help from the auto parts store near you.
This will be a little difficult part as you will have to run your car while allowing the coolant mixture to flow into the system while ensuring burping. Burping helps to release the trapped air, which if not would cause the system to overheat.
Preparing to Flush a Heater Core
Level ground Vehicle Parking
- The vehicle must never be jacked up on a slanted surface.
- There are high chances that it will topple over.
- The surface must be leveled and firm so that it supports the vehicle’s front weight.
- The vehicle must never be jacked on dirt, grass, or gravel. The best surface to jack the vehicle is concrete and blacktop.
The engine must be completely cool
- There is much pressure on the coolant when heated.
- Therefore, disconnecting or loosening the heater core when the engine is hot or warm may cause the hot coolant to spray and severely injure you.
- Take your time and leave for a few hours to let the car settle down completely.
- One way to know whether the car has been completely cooled is by touching the car hood with your hand.
- If it is still warm, then give it a few more hours as the engine is still hot inside.
- 6 Sous Vide Power Precision Cooker Reviews & FAQ’s - December 4, 2025
- 10 Most Efficient Solar Panels for Camping Reviews & FAQ’s - December 4, 2025
- Best Budget Gaming Chair Under $150 – Reviews & FAQ’s - December 4, 2025

